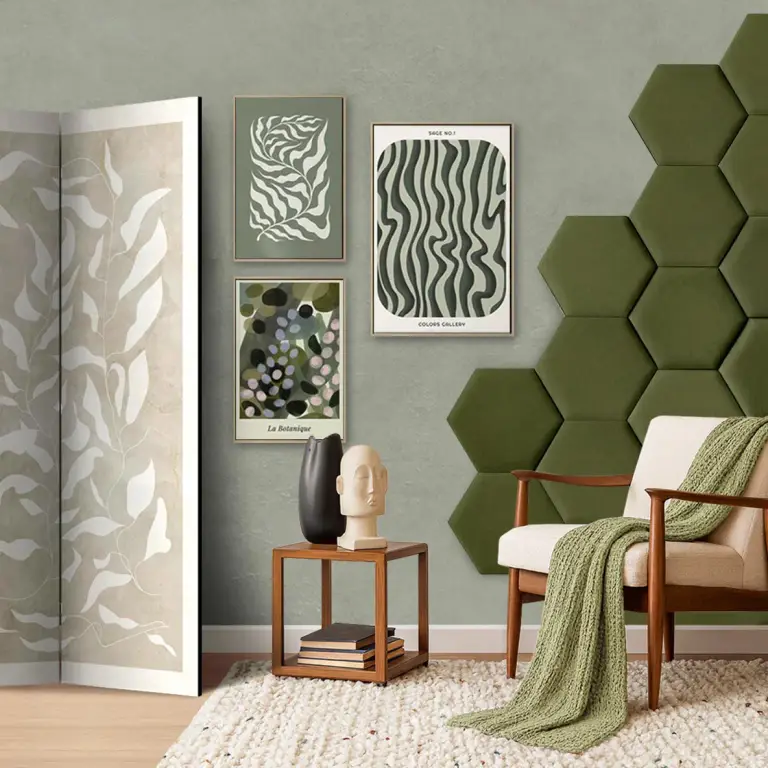
Themes
Reproductions
Style
Themes
Style


Themes
Style

Themes
Style


Themes


Themes
-768x768.webp)


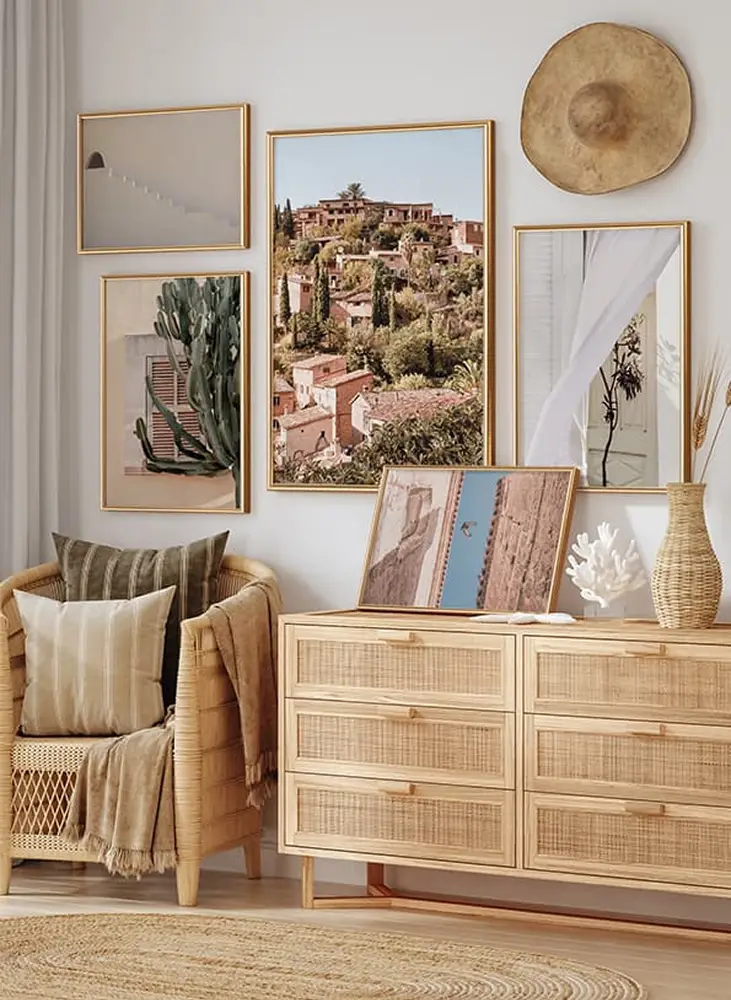
Art Collections
Trends
Frida KahloSage GreenDecometryA burst Of ColourJapandiA Space OdysseyA Spark Of MagicGentle StoriesChildren’s WorldArt DécoIn BloomBack To ClassicsDopamine HouseJapanese TouchGo GreenSelf LoveOffice At HomeScandi BohoFresh Flower DeliveryNordic PowerPasteLOVEFlowers In Her HairColours Of NatureWho Run The World? Girls!BanksyFull Of LoveHouse Dressed In AutumnBack to school
-768x404.webp)


Styles
Interiors